Refresh Your Living Area: Professional House Painters Share Recommendations and Secrets
Renovating a living space can significantly boost its attractiveness. Professional house painters highlight the importance of selecting an appropriate color palette that matches the property's architecture. Adequate preparation is vital to reaching a perfect finish. Moreover, knowing effective application techniques holds a vital role in the outcome. With the right approach, anyone can develop a stunning environment that showcases their personality. The journey extends past with paint; maintenance is similarly important. What should homeowners understand about preserving their efforts?
Picking the Perfect Color Combination
How does one select the ideal color scheme for a residence? The method commences with recognizing the emotions and atmosphere that various colors evoke. Subdued tones generally create a calming environment, while vivid hues can enliven a space. Homeowners should evaluate the home's architecture and natural light; darker shades might work well in light-filled areas but could make compact, dim rooms feel claustrophobic.
In addition, it is vital to think about the flow between rooms. A unified color scheme can elevate the overall aesthetic and create a sense of unity. Utilizing color swatches and testing them on walls can help see how the colors interact with furnishings and decor. Finally, personal preference plays a considerable role, as choosing shades that resonate with one's taste creates a comfortable and inviting space. By balancing these elements, one can effectively curate a harmonious color palette tailored to individual needs.
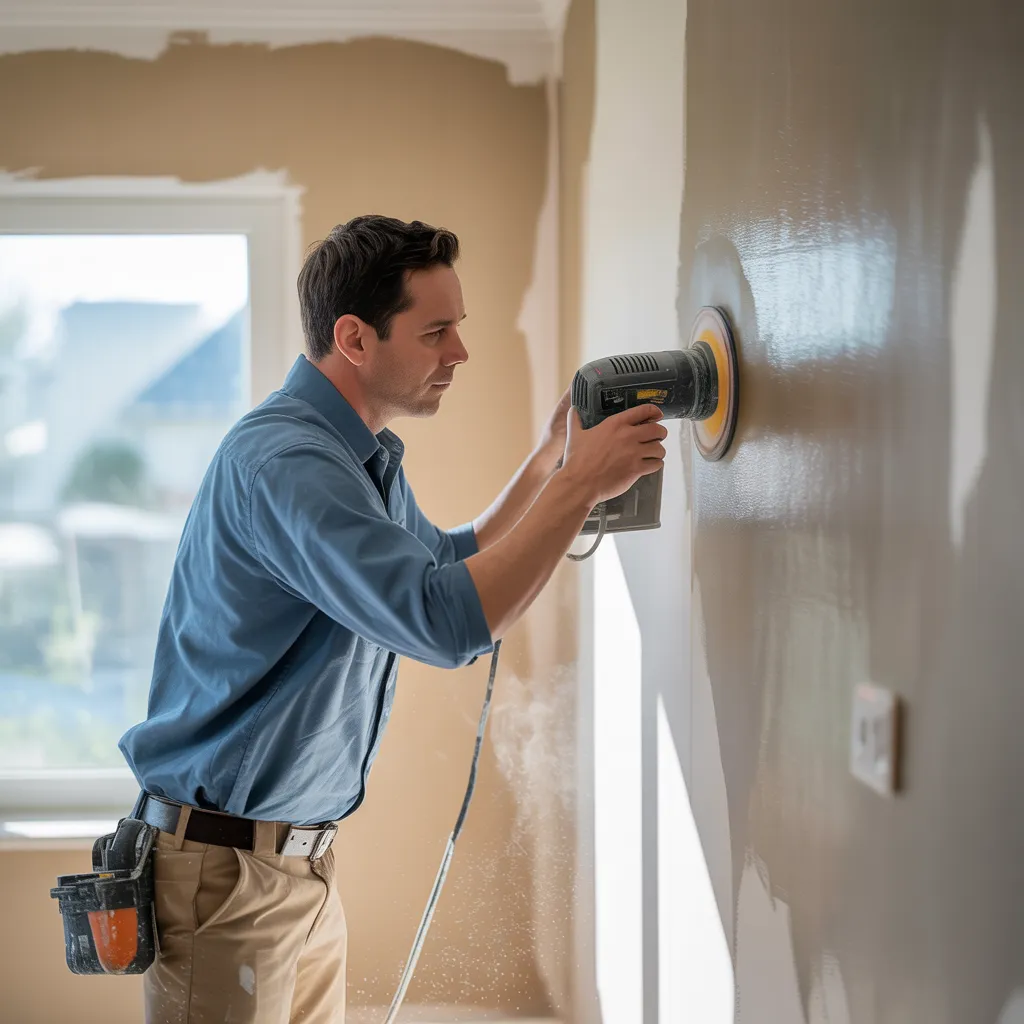
Preparing Your Space for Painting
Before initiating a painting project, it is essential to prepare the space meticulously to ensure ideal results. This preparation involves several key steps. First, the area should be cleared of furniture and other items to avoid damage and allow for unrestricted movement. If removing large items is not possible, covering them with drop cloths or plastic sheeting is recommended.
Next, surface areas need to be cleaned to ascertain proper paint adhesion. Grease, dust, and grime can impede the painting process, so a thorough cleansing of both walls and trim is required. Additionally, any imperfections including holes or cracks should be filled with spackling compound or filler, then sanded smooth.
Finally, it is essential to mask off edges where different surfaces intersect, such as door frames, trim, and windows. This step will help achieve clean lines and a professional result, setting the stage for a successful painting job.
Important Tools and Components
Once the room is prepared, gathering the correct tools and materials becomes crucial for achieving a pristine paint job. A high-quality paintbrush, typically angled for precision, is imperative for cutting in around perimeters and corners. Rollers, with different nap lengths, are needed for covering larger wall areas quickly. A sturdy paint tray assists in controlling paint application and minimizes mess.
Painters ought to invest in painter's tape to shield trim and create clean lines. Drop cloths or plastic sheeting are necessary for safeguarding floors and furniture from drips and spills. A ladder or step stool guarantees easy access to high spaces, while a paint stirrer supports achieving an even consistency.
Finally, choosing top-quality paint appropriate for the particular surface and desired finish is vital. By equipping themselves with these necessary tools and materials, painters establish the foundation for a professional and professional-looking finish.
Perfecting Implementation Methods
Mastering application methods is vital for attaining a professional finish in house painting. Adequate surface preparation is the cornerstone of a successful paint job. This includes washing, sanding, and priming surfaces to provide the best paint adhesion. Painters should use approaches such as brushing, rolling, and spraying, each fitted for different areas and finishes. For instance, brushes are excellent for edges and detailed work, while rollers cover larger areas effectively, and sprayers provide an even coat with minimal texture.
Additionally, understanding the proper amount of paint to load on the roller or brush is vital; too much can lead to drips, while too little may produce uneven coverage. The application should be smooth and consistent, using long, even strokes. Patience is essential, as hastening can compromise the final appearance. Respecting drying times between coats also assists in achieving a flawless finish.
Guidelines for Attaining a Expert Finish
Attaining a professional finish in house painting demands careful attention to detail and adherence to best practices. Initially, selecting top-quality paint and tools is vital; professional-grade brushes and rollers can greatly influence the final outcome. Appropriate surface preparation should never be ignored; cleaning, sanding, and priming surfaces provide optimal paint adhesion. Painters should utilize even strokes and consistent pressure while applying paint, allowing for sufficient drying time between coats to avoid streaks or uneven textures.
Applying painter's tape for sharp lines creates a clean separation between different colors, enhancing the overall appearance. Additionally, preserving a wet edge during application prevents lap marks and ensures a uniform finish. Finally, inspecting the finished work under different lighting conditions allows for the identification of imperfections that may require touch-ups. By incorporating these tips, individuals can accomplish a refined, professional look that transforms their space.
Common Mistakes to Avoid
Even with the best techniques for a professional finish, common mistakes can reduce the overall quality of a painting project. One common error is skipping proper surface preparation, such as cleaning, sanding, or priming, which can lead to poor adhesion and uneven coverage. Furthermore, using the wrong brush or roller can cause streaks or texture inconsistencies.
A common error involves neglecting to consider environmental conditions, especially humidity and temperature, which can affect drying times and paint application. Hurrying the work can result in missed sections or insufficient drying between coats, compromising the final look.
Finally, picking the incorrect paint finish for a specific area can cause unwanted results, such as overly prominent shine or challenges with cleaning. To accomplish a flawless finish, awareness of these common pitfalls is vital for any home painting endeavor.
Keeping Up Your Freshly Painted Surfaces
Keeping up with freshly painted surfaces is crucial for maintaining their look and longevity. Implementing a regular cleaning schedule and applying gentle cleaning practices can help stop damage. Moreover, avoiding harsh chemicals ensures that the integrity of the paint remains intact over time.
Standard Cleaning Schedule
Maintaining a regular cleaning routine is vital for safeguarding the aesthetic and durability of freshly painted areas. Ongoing maintenance prevents the accumulation of grime, dust, and soil that can reduce the luster and weaken the paint's durability. It is recommended to develop a routine that includes soft dusting and light wiping every couple of weeks, using a microfiber cloth or sponge. For spaces susceptible to staining, such as cooking areas or corridors, more frequent cleaning may be necessary. Home occupants should give special attention to high-traffic zones, where blemishes and marks can collect. By following this preventive strategy, homeowners can guarantee their painted surfaces remain clean and lively, boosting the general appearance of their living areas for years ahead.
Steer Clear of Aggressive Chemicals
Many home owners don't fully grasp the impact of harsh chemicals on freshly painted areas. Such chemicals can degrade the finish, causing discoloration, peeling, and premature wear. Professionals suggest using gentle, pH-neutral cleaning solutions to protect the integrity of the paint. Additionally, it is suggested to avoid abrasive scrubbers, which can mar the surface and lessen its appearance. Rather, tender fabrics or sponges should be used for gentle cleaning. Residents should also be careful with products that contain ammonia-based or bleach-based ingredients, as these can react negatively with paint. By using safer alternatives, such as baking soda or vinegar mixtures, property owners can maintain their painted surfaces effectively while increasing their lifespan and beauty. Keeping these considerations in mind guarantees a lasting, vibrant finish.
FAQ
What's the Complete Drying Time for Paint?
Paint normally needs 1-2 hours to become touch-dry, however full curing may take anywhere from days to weeks, influenced by the type of paint, atmospheric moisture, and ambient temperature in the room.
Can You Paint Over Existing Wallpaper or Old Paint?
You can paint over wallpaper or old paint, but proper preparation is necessary. Removing loose wallpaper and sanding old paint guarantees better adhesion. Primer may be necessary to achieve a smooth, long-lasting finish on the surface.
What Time of Year Works Best for Painting?
The best period of year to paint is generally spring assessment or early fall, when temperatures are mild and humidity levels are lower. This guarantees perfect drying conditions and reduces the risk of paint issues.
Should I Go DIY or Hire Professional Services?
Choosing between DIY and contracting experts relies on ability level, project complexity, schedule flexibility, and budget. Weighing these elements enables individuals in making educated decisions that match their intended results and overall satisfaction.
What Environmental Effects Does House Painting Have?
House painting can lead to environmental impacts such as the release of volatile organic compounds, water pollution from runoff, and container waste production. Choosing eco-friendly products can reduce these harmful impacts and support environmental sustainability.